
More in Media and agents
PROPELOS CMS GUIDE
Upload and reuse images
Choose a new or existing image for a page, add alternative text, and publish the change.
Pages, articles, agents and property images
In this guide
Add an image through the page or item that will show it. This keeps the photo change with the content you are editing.
1. Open the image field
Open the page, article, agent or property you want to edit. Expand its section and find the image field; in a Photo hero, it is Background photograph.
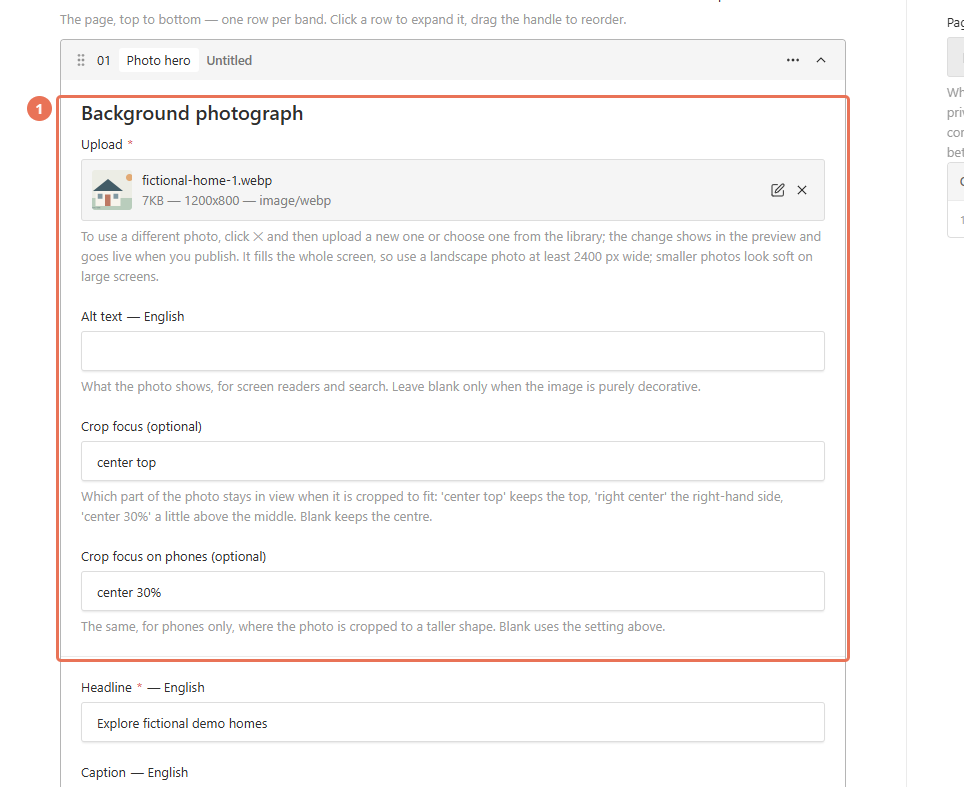 Select the image to view it full size.
2. Choose a different image
Click × beside the current image to clear the selection, then click Create New to upload an image or Choose from existing to select one from the library; the pencil beside an image opens its shared image settings.
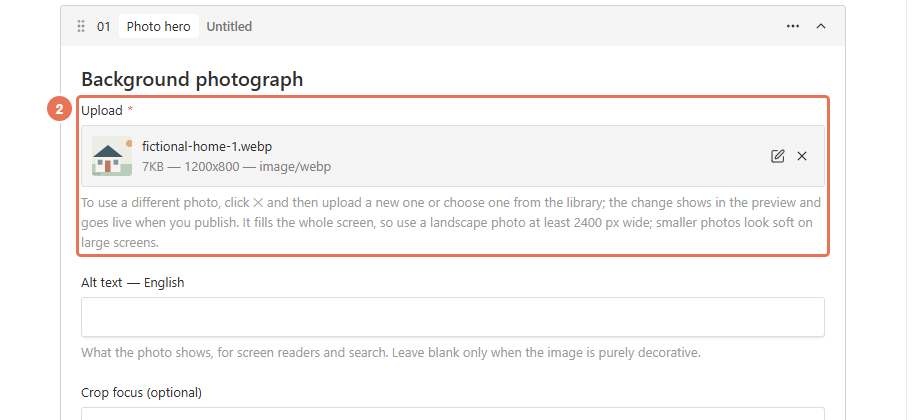 Select the image to view it full size.
3. Choose and describe the image
Click Select a file to choose the image, or drag it into the upload area, then fill in Alt with a short description, such as “Bright living room opening onto a terrace”, then save the image. Use the Locale menu at the top right to choose the website language you are editing when adding translated alternative text.
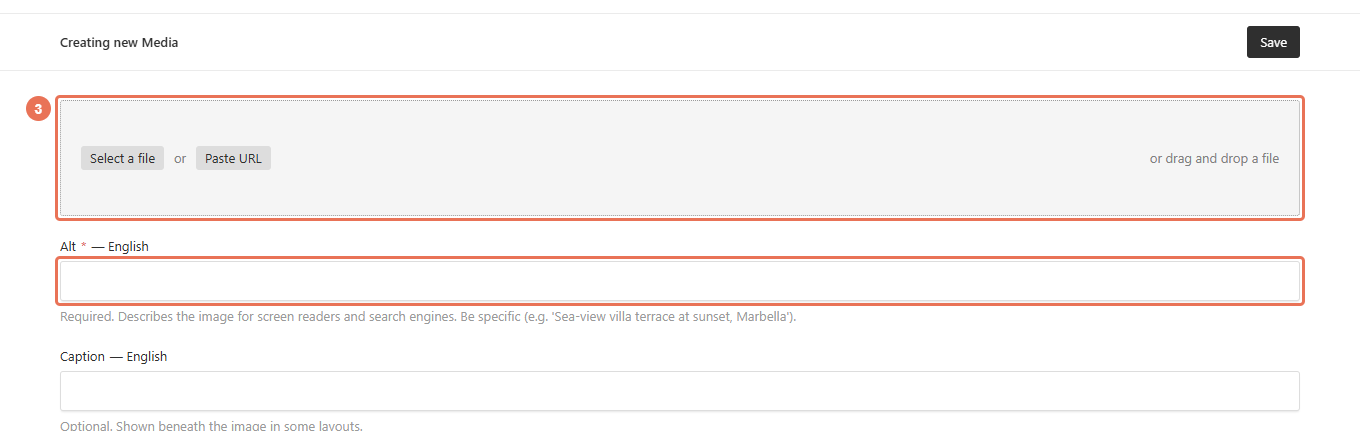 Select the image to view it full size.
4. Save the content
Return to the page and click Publish changes to put the new photo on the website. Pages with autosave keep your work as a draft while you edit; if Save Draft appears, you can use it to save for review. For an agent or setting with a Save button, saving updates the website straight away.
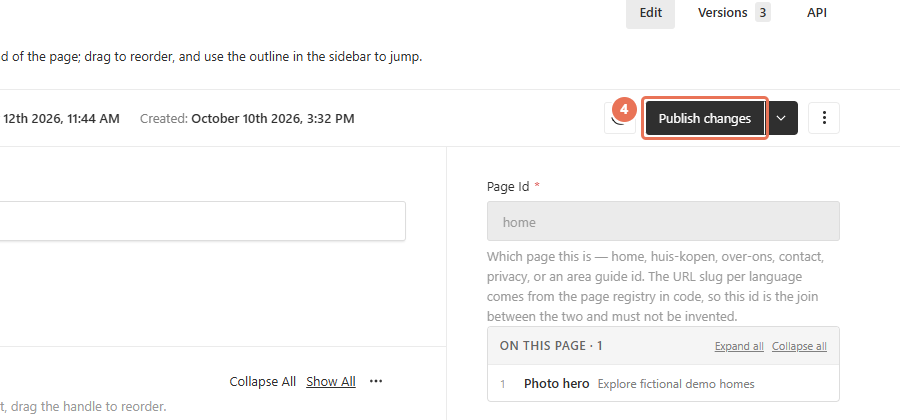 Select the image to view it full size.
The Media library lets you upload images in advance and reuse them later. It accepts image files; use video and tour link fields for hosted videos or tours. Editing a shared image’s alternative text, crop or focus can affect every place that uses it. To change only one page’s photo, upload a new image and select it on that page. Deleting a library image can remove it from pages that use it.